You’ve got a repair job to do.
Maybe it’s the delicate finish on your grandmother’s antique furniture. Or maybe it’s just some scratches in your car bumper. You need to get that surface smooth again, but you’re not sure which type of sandpaper grit you should use for the job at hand!
It sounds like an easy decision, right? Just pick up any old piece of sandpaper and start rubbing away with it! But if this is something you’ll be doing more than once or twice, then there are some factors that will affect which type of paper you choose.
And understanding them will make all the difference when choosing between coarse grits (great for removing heavy rust) and finer ones (perfect for polishing wood).
This guide will help you choose the right sandpaper grit every time!
What is Sandpaper?
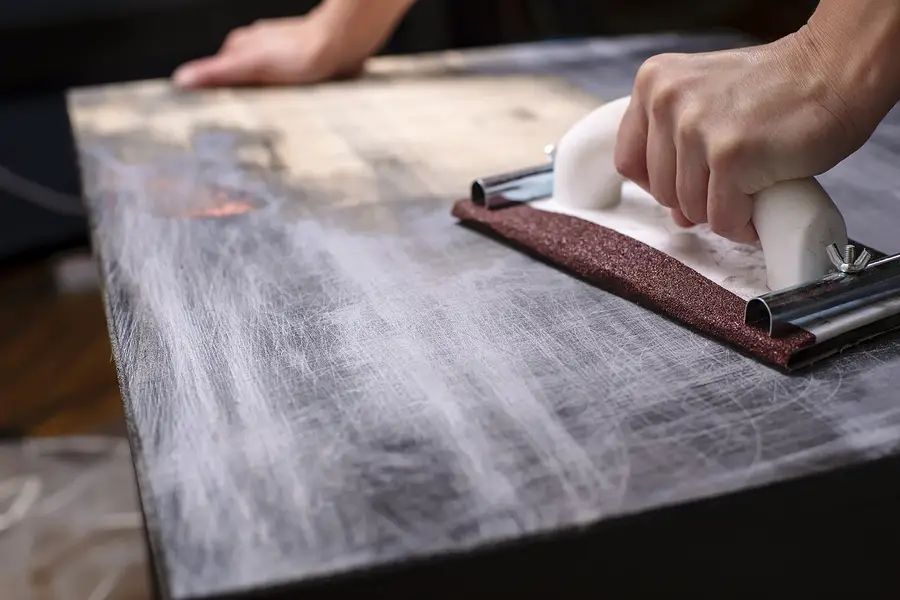
The name sandpaper is a bit deceiving, as the paper itself doesn’t have any sand in it. It’s actually just a very fine sheet of abrasive that has been bonded to a sturdy backing material.
Depending on the size and shape of the grains used for this bond, you can get different levels of coarseness. In general terms, there are four types:
- Very coarse grits have very large grains and would be great for removing rust or smoothing rough surfaces.
- Fine grits use smaller grains so they won’t leave deep scratches like their more abrasive cousins do. They’re perfect for polishing and giving your projects an extra smooth finish.
- Very fine grits (such as micromesh) will take that finish further and leave a silky smooth surface that can be painted or dyed right away.
- The final type of sandpaper, super fine grits (such as wet-or-dry), is so small and soft that it’s not really considered an abrasive anymore. It would be rather ineffective at removing paint or rust, but it is great for applying sealants, shellacs, and various finishes to wood and metal projects.
What Do the Sandpaper Numbers Mean?
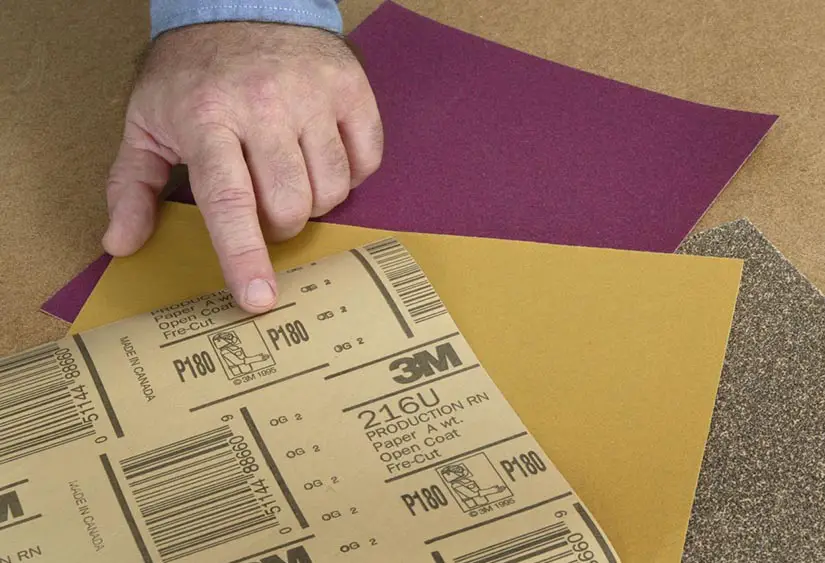
When you look at sandpaper in the store, you’ll see it has a number on it. These numbers refer to the size of the grit particles, and they can be confusing if you’re not sure what they mean!
The larger the number, the bigger (and coarser) the grains of sand stuck to that piece of paper. For instance, 120-grit sandpaper will have much larger particles than 220-grit. The higher the number, the finer (and smoother) your finish will be when applying paint or wood finishes.
But how do you choose which one is best for your project? Great question! Read on to learn more about choosing between coarse grits and fine ones…
Sandpaper Grit Material
The type of abrasive material you use has a significant impact on the outcome of your sanding project. The density of sandpaper grit makes a difference, as does the kind of abrasive substance used. Some sort of grit grain is better suited to smooth and sand materials (for example, wood versus metal).
Manufacturers usually list the best sort of material for sanding on their products’ labels, but it’s a good idea to know what kind of grit to search for ahead of time.
1. Silicon Carbide
Silicon carbide is the most long-lasting of all synthetic abrasives. It’s suited for sanding plastic, metal, and hardwoods alike!
2. Emery
The natural grain of this sandpaper will leave your metal shiny and smooth. It’s perfect for removing corrosion, polishing steel, or other metals but not so great on wood because of the sharp edges!
3. Flint
Flint is a natural, heat-resistant rock that’s perfect for removing old varnish or paint.
4. Garnet
Garnet is a natural grain, and it can be slightly softer than flint or emery. This makes the garnets best suited for finer sanding of wood surfaces with grits ranging from 120-220, though this also means that they’ll quickly dull when used to remove metal particles!
5. Aluminum Oxide
Another great choice for a durable, synthetic grit is aluminum oxide. This mineral has many uses, and it’s especially good at sanding various types of metal, including bronze or steel alloys, in addition to being an excellent material when working with hardwoods like oak!
6. Zirconia Alumina
If you have a metal project that needs some finishing or rough wood sanding, synthetic products like this grit serve your purposes best. The long-lasting nature means there’s less chance of changing and reusing paper towels which can get dirty quickly in these situations; plus, it won’t stick to the surface, unlike natural ones do!
Types of Sandpaper Grit and What They Are Used For?
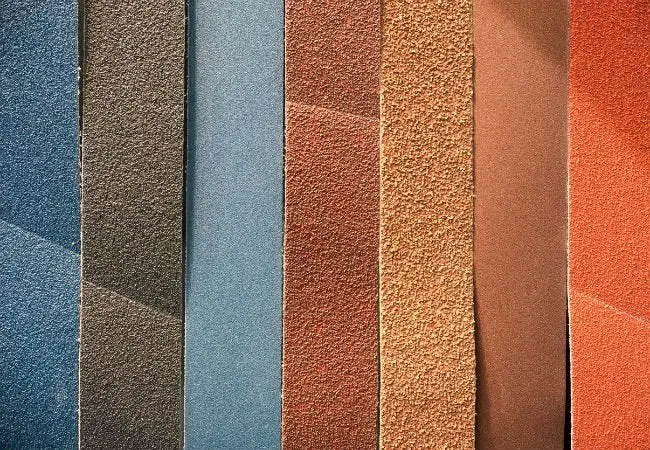
To make it easier to choose sandpaper, the manufacturer will tell you the coarseness level (how rough it is) in words on the package. You can also find out by looking at what grade of sandpaper is on the package. This is a set of grit sizes that are all equally good for the same sanding task.
It’s not unusual for tasks to request a specific coarseness level rather than a certain grit of sandpaper, so it’s important to understand what each level entails.
Wet & Dry Sandpaper
wet-and-dry sandpaper is a standard wet sanding, general-purpose product that’s popular for its versatility. It can be used on both wood and metal surfaces successfully without too much wear. If you’re not sure what grit of paper to choose, this is the way to go!
Coarse sandpaper/Grit number 60–80
Coarse grit sandpaper will quickly remove deep scratches from your surface but isn’t appropriate if you’re looking for fine polishing or finishing steps. These are best suited for rough work like rust removal or scuffing surfaces before applying new coats of paint.
Medium Grit Sandpaper/Grit Number 120–180
These coarser grades will still have an effect on the surface of your material, though it will be smoother than that of coarser paper. If you’re using medium grits for smooth wood surfaces, remember to use gentle strokes!
Fine Sandpaper/Grit Number 220–400
This type is ideal for polishing surfaces and applying coats of finish. Be careful, though, because finer paper can still create scratches if too much pressure is applied. If you need to get rid of fine scratches or smooth out a freshly painted surface but are worried about creating more damage – switch back to starting with more coarse paper grades before finishing off!
Very Fine Grit Sandpaper/Grit Number 400-600
Using this grade on your project will leave your piece extremely smooth and shiny, so only use it if you don’t want to create further damage by sanding or if your surface is already extremely smooth.
Extra Fine Sandpaper/Grit Number 600-800
It will take much more time and effort to use this paper grade, but the results are worth it! You’ll end up with a piece that’s super smooth, shiny, and ready for finishing or application of paint.
Tools You can Use Sandpaper With
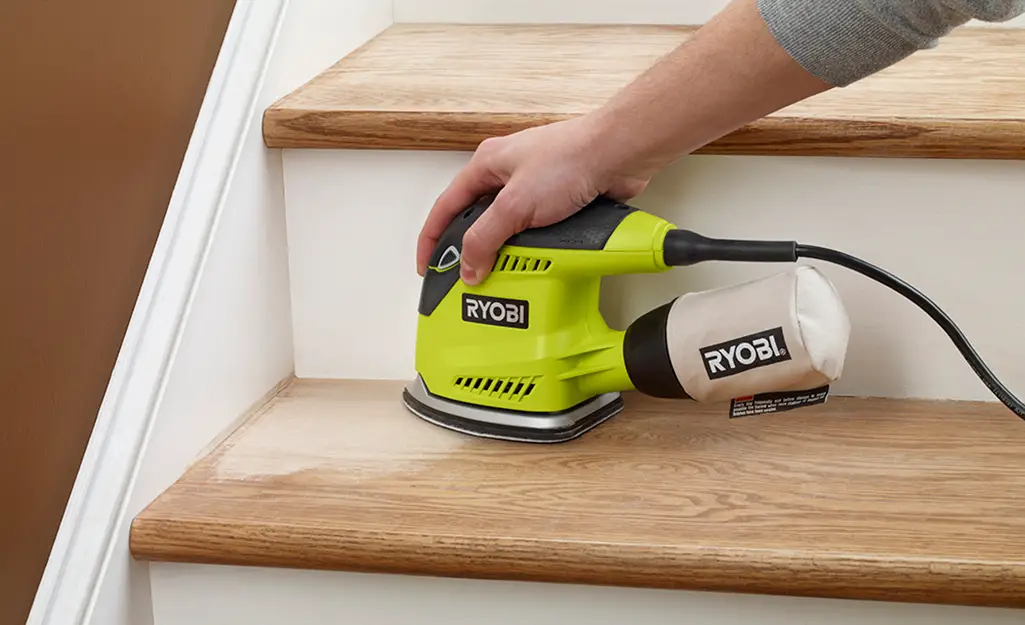
Vibrating Palm Sander
This tool is good for finishing and polishing surfaces. You can use it on smaller items or flat surfaces to apply a smooth finish by moving the sander up and down over the surface in circles.
Attach sandpaper to the sander, turn on the switch, and let it do all of the sandings for you—the strong vibrations perform all of the work.
Orbital Sander
These small handheld sanders have a round base and are good for working on the edges of surfaces or curved wood pieces. With this tool, you can control exactly how much pressure is placed on your material, so it’s perfect when using finer sandpaper grits to avoid scratches.
Orbital sanders also use either an electrical cord connection or batteries to run.
Manual Hand Sander
Manual hand sanders, as the name suggests, require you to do all of the work. This works well for smaller pieces and surfaces that need more time and attention or can be safely held in your hands.
With one of these tools, you’ll have a steady grip on the material and control how much pressure is being placed on it by holding the sander with both hands.
It’s important to use coarser grades on your wood before finishing it off with a finer grade – too much pressure can cause further damage!
Try to move in longer, slower motions, so you don’t accidentally scratch the surface of your wood. If you are working towards achieving a smooth, shiny finish, then use finer grits.
Bench-Mounted Sanders
These tools are best for flat surfaces and bigger projects like building new furniture. They can accommodate different sizes of sandpaper, which you change according to the project at hand.
They tend to be more expensive than other alternatives, but they’re a reliable investment for long-term use. Some people who use these regularly have even claimed that they outperform newer power sanders because of their superior quality.
Random Orbital Sander
This type of sander is similar to an orbital sander, but it oscillates in random swirls rather than moving in circles.
Random orbital sanders are best for creating a smooth finish on areas like doors, window frames, and flat surfaces.
You’ll see these used by professionals because they remove more material quickly. They can also be used for finishing and applying paint to a surface.
This type of sander works well for surfaces that can’t be easily held by hand or flat pieces that need extremely smooth finishes. They’re also good for creating swirl marks on workpieces, which can later be covered up with paint or varnish.
Belt Sander
Use a belt sander for heavy-duty jobs like shaping wood or preparing surfaces.
They typically move up and down, which is ideal for giving you the ability to apply pressure directly where it’s needed.
These are some of the most powerful types of sanders available, so they are best used by professionals on larger projects with bigger pieces of wood.
Before using your belt sander, make sure that it is securely clamped or attached to a workbench so it can’t move around during operation.
Some models have the ability to be used in both an upright position and flat on its side for working on different lengths of material.
Floor Sanders
A floor sander is a great tool for sanding areas that are bigger than your arm can reach or awkward spaces that need an extra bit of support.
These types of sanders are heavy, so you should only use them if you have the strength to do so safely.
If you are unsure about what type of power sander to buy, ask your local hardware store if they can recommend one for you.
They will be able to find the perfect tool for your needs after asking you what kind of wood, how much work it has to do, and other factors that will determine which one is best suited to your purposes.
Common Mistakes People Make When Choosing a Type of Paper Grit
- Using a high grit paper to sand something with a lot of curves, such as metal furniture.
- Sanding too aggressively or using low-grit sandpaper on wood that has been stained or painted.
- Not wetting the sanding paper during the process if it is for polishing, staining, or painting.
- Take off less material than necessary when sanding paint from furniture because the paper is not getting a good enough grip on the paint or varnish.
- Forgetting to clean saw blades after they have been used so that they don’t damage any work being done after them.”
- Sanding through an epoxy coating, it’s dried all the way and may look like it’s all set and ready to paint, but if sanded through, the epoxy will leave a very rough surface.
- Sanding unevenly or taking off too much material during any type of sanding process. (can be caused by: poor choice in brand, not controlling how much pressure is applied, and using the wrong grit.)
- Not applying enough care when sanding before staining or painting.”
- Choosing a really low grit paper for wood that has been painted with acrylics because the higher grit paper would have worked better.
- Using high-grit sandpaper on softwoods such as pine because these woods are less dense than hardwood species.
Final Thoughts
Now that you have a better idea of the best woodworking sanding tools and how to use them, you should have an easier time making your future projects.
Before you buy any sander or other woodworking tool, be sure to read reviews from real customers who have purchased and used the product to make an informed decision about what type of sander will work best for your project because everyone’s needs are different.
Do you think we missed something? Want to add a comment about what type of woodworking sander has been most useful for your own needs? Share this blog post with friends by clicking on one of the social media icons below. Thanks!
