A router table is an essential tool for any woodworker. It allows you to work on projects that are too large or too complex to do freehand, and it can speed up your workflow by allowing you to make multiple passes with the same bit.
Although the router table itself is a very simple tool, it’s also very finicky – even a slight discrepancy in your measurements can cause problems.
The good news is that setting up a router table doesn’t have to be complicated or intimidating. But it can be pretty darn dangerous if not set up properly. It just requires a little bit of preparation and patience. In this blog post, you will learn how to set up your router table-mounted router and what you need to consider before you begin.
Let’s get started!
Table of Contents
Types of Router Tables

First off, let’s talk about the different types of router tables available.
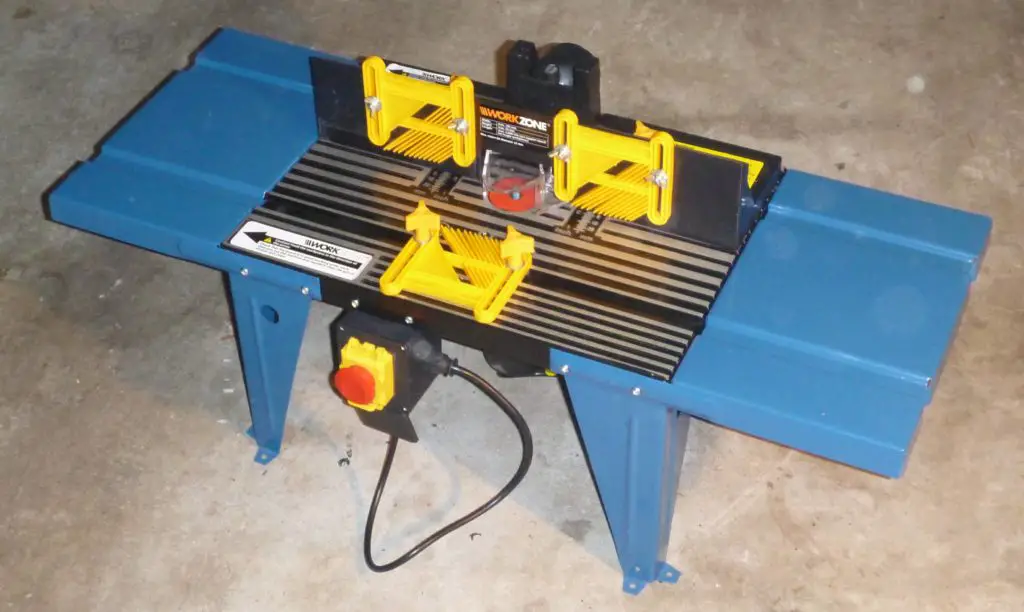
1. Bench Top
These are typically smaller tables that sit on a workbench or sawhorse. They have limited lifespans and will wear out from being moved back and forth from one job site to the next.
2. Floor-Standing
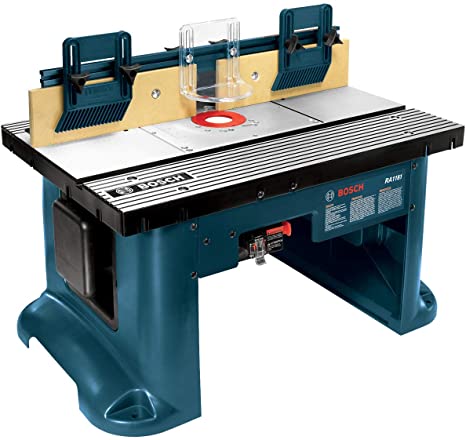
These sit on the floor and are much more sturdily built. They’re also much larger than bench-top models, which means that you’ll need to have a dedicated space in your shop for them.
3. Table-Mounted
Table routers are best suited to professional uses because they allow greater control over the bit with both hands.
4. Extension
Some router tables can be linked together with an extension to make them larger. They also double as a work surface for your machine, convenient if you need to rout and shape on the same project.
Also Check: What Is a Router Table Lift? An Ultimate Guide
Step-By-Step Tutorial on Router Table Setup

Check for Levelness
This is one of the most important steps when setting up your router table.
Not only will a warped table affect your cuts, but it can also put undue stress on the bearings in the base if they’re not aligned correctly. Luckily, this step is easy to do with some masking tape and a few clamps.
First, check for levelness by measuring from corner to corner on both the left and right sides of your work surface as well as front to back. If you notice any discrepancies, fix them by adding or removing shims until things line up properly.
Connect the Switch
This is an optional step, but it’s something I would highly recommend if you plan on using your router table for lengthy projects.
Router tables are fairly large and difficult to move, which means that something could potentially come into contact with the exposed switch of the motor while you’re working. This can result in a potentially dangerous situation.
The safest route is to connect your switch only to be turned on and off from the table itself, which allows you to work with both hands.
To do this, you’ll need to replace the wire coming from your router motor with a length of flexible wire and an electrical-safe junction box.
Insert Plate & Fitting the Router Table
Now that your router table is set up, it’s time to put the finishing touches on by fitting the insert plate.
Insert plates are designed to lock firmly into place, so it might take some effort to push them in during this step. When they go into place, ensure that they lock securely before continuing with any other operations so the table can properly support your tools.
While you have your router table in place, take the opportunity to check the height of the bit to ensure that there’s no gap between it and the work surface. You can do this by adjusting the base accordingly until you get it just right.
Set Up the Fence
If you plan on using a fence with your router table, this is where you’ll set it up. Fences are designed to guide the material being cut to create straight and even cuts consistently.
A well-built fence can significantly improve the quality of your finished products. And fortunately, they’re not as difficult to build as you might think.
Start by attaching the fence rails to the work surface, then attach either one or both of your fence faces depending on how large you need it to be. Finally, clamp the whole thing into place, and you’re good to go!
Get the Dust Port Ready
The router is an incredibly versatile tool, but it does have one significant downside that you need to consider when using it: the amount of dust and debris it kicks up.
A good router table will include a way to connect your shop vacuum to the underside of the table in order to collect most of this debris for easier disposal. But if you don’t have a router table, you can cheaply attach some dust collection to the fence itself.
Feather Boards
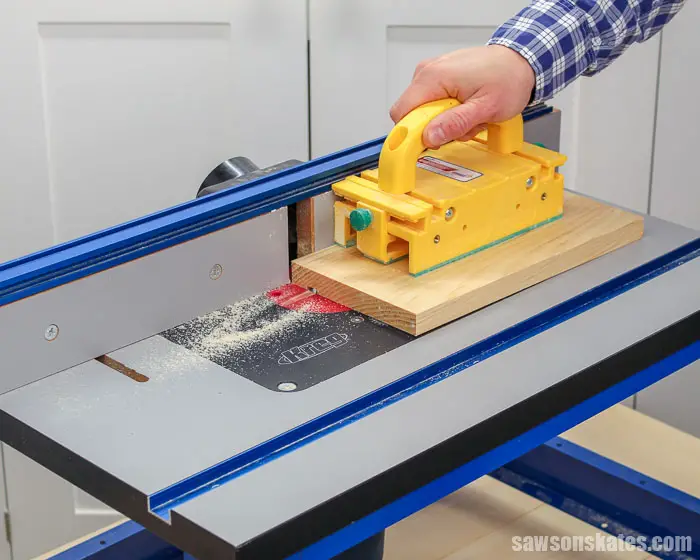
Feather boards offer an extra layer of protection by keeping your fingers away from the cutter. The vertical and horizontal feather boards aid in the production of uniform pressure against the fence and table.
You want the clamps to be tight enough that the workpiece is secure but not too tight. You should be able to pass the wood through without pinching with ease. The anti-kickback fingers on the feather boards provide a safer and more stable working environment.
How to Choose the Best Router Table?
Choosing the best router table for your needs can be difficult, but it doesn’t have to be. This guide will help you select the right model so that you can get started routing like a pro.

So what features should you look for when searching for the perfect router table?
Flat
You want your table to be flat and stable. Some cheaper models might have warping issues, but you can easily get this fixed if it becomes a problem after buying the table.
Fence
The router table fence is an important feature of the router table. It’s best to look for one with a large face or dual face so that it doesn’t have any movement when pressed against the material being routed.
Detachable Base Plate
This is a feature that attaches to the router itself so you can mount it onto your table for easy access. You want at least one of these, if not both, in order to get more use out of your router bits.
Dust Collection Port
The best tables are equipped with this feature because it allows you to connect a shop vac underneath the table for easy cleanup after completing some projects.
Spacious Top
A larger table has more surface area to work with, giving you more room to operate. It’s great because it will also provide plenty of space for your router bits and accessories.
Adding all the features together should give you a good idea about which tables are right for your budget, needs, and skill level.
Durable
The durability of your table will have a huge impact on your workflow for years to come. You get what you pay for, so if you want something that will hold up well over time and give you reliable results, it’s probably best not to cheap out too much when buying this equipment.
A good router table is made from sturdy metal to withstand drops, falls, and other rough usages. The best tables are generally the ones with a high level of safety features for your safety while operating them. A built-in switch or power cord is key for this feature because you don’t want to get tangled up in the cord when performing certain tasks.
Adjustable
You want something that you can easily adjust to fit your personal needs. Different tables have different features, but if it seems like the table is too restricting for you right off the bat, it’s probably not worth your time.
Having the option of moving things around on your router table will help you customize it to fit your needs. The best tables are ones that have variations in the height of the fence and router plate so you can set it up to work with different projects while still getting accurate results.
Rigid
You want a table made from durable metal, but it shouldn’t be so heavy that you have a hard time moving it out of the way when not in use. A poorly built table might cause problems with your routing and could even lead to injuries if something were to fall off while working on a project.
If at all possible, try to get a wooden tabletop. This will provide you with more of authentic woodworking feel while still being able to use it for most projects. Having a solid table surface is especially useful if you plan on routing hardwood boards since the material tends to be very slippery when trying to work with it. If you are looking for a more traditional woodworker feel, look for tables that include wooden fence rails instead of metal ones.
Final Words
So there you have it. In conclusion, you need a sturdy router table with a flat surface and easy-to-use features for your safety.
Durability is an important factor because you don’t want something that isn’t going to last for a long time. Having a variety of adjustments can help you customize your workspace, so it works best for you. Finally, having a wooden fence rail is indicative of the traditional woodworker feel.
Don’t forget the next most important thing, maintaining your router table properly to insure ongoing safety and optimal functionality.
