A drill press is a very important tool for any woodworker to have in their arsenal. It can be used for many different tasks, from cutting, drilling, sanding, and more. This article will focus on how to keep your drill press in top condition so that it lasts as long as possible and continues to be an excellent investment.
There are a lot of ways you can go about this, but there are certain things you should never forget if you want to maintain your drill press correctly. The most important thing is remembering that no matter what you do, it’ll take some time and commitment on your part.
It’s not always easy to maintain a drill press, but you should dedicate some time to it if you want it to last as long as possible and remain in top condition.
Not quite sure what this is? Here are tips for your drill press maintenance…
Table of Contents
1. Lubricating Your Drill Press
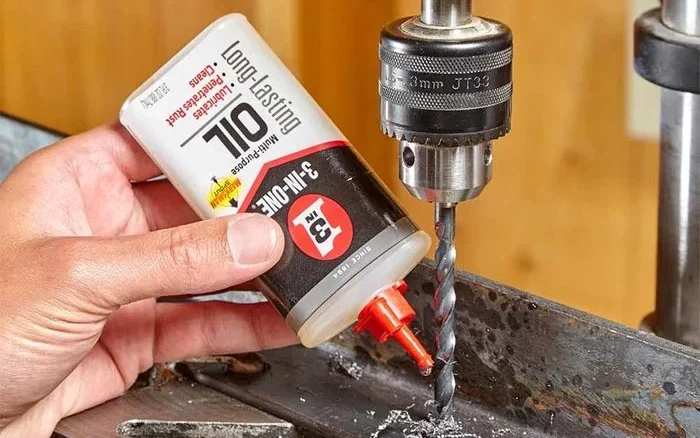
Lubricating your drill press is very important. It ensures that all the moving parts are running smoothly, and it helps to prevent something from overheating. There are different types of lubrication depending on what part of your drill press you need to lubricate.
The key is making sure you don’t use too much or too little. If you use too little, it could cause damage to your drill press.
On the other hand, if you use too much, it can attract dust and dirt, creating problems down the line. To avoid this, there are special oilers available which you should invest in or just go for an old toothbrush instead.
2. Drive Belt Position Maintenance
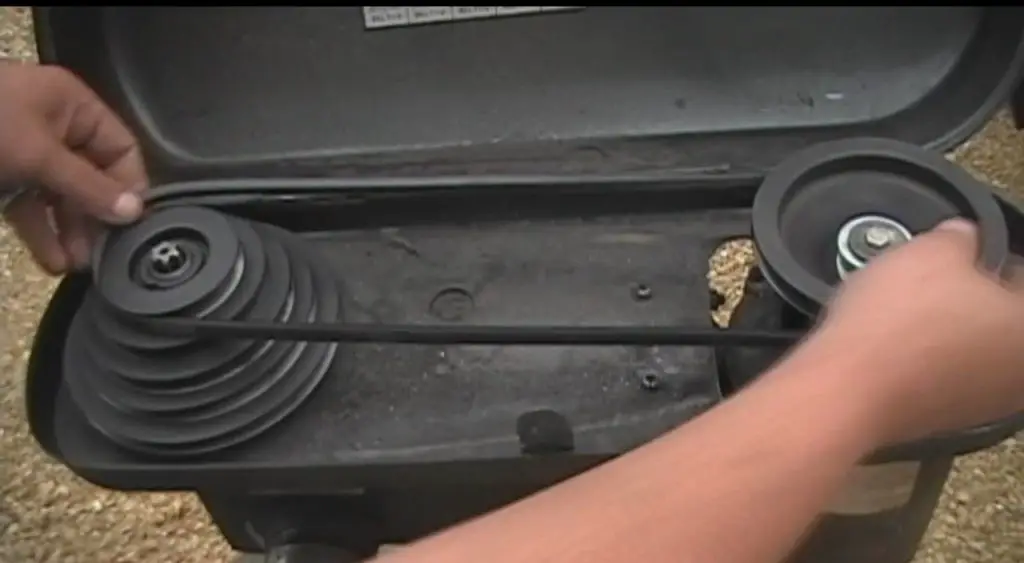
Many drill press models come with a drive belt. The belt drives the spindle, which is what turns your drill bit at high speeds to boreholes. These belts are made up of rubber, and over time they stretch out, dry out or even become damaged.
You can tell if your belt is wearing out because it’ll begin slipping when you try to use your drill press. If it’s slipping, the spindle won’t turn, and you won’t be able to use your tool!
You can replace these belts by unscrewing the screws that hold them in place and removing them with pliers. The new belt should be of equal length, and you’ll need to stretch it out before putting it into place.
3. Overall Cleaning

After a long day at the shop, your drill press is going to get dirty and full of dust and chips. It’s important to make sure you clean it every night before putting it away.
You should remove any loose materials and wipe down the area with a damp cloth or rag.
If there are large pieces of debris, you can use a vacuum hose to remove it. If there is dust or other small particles still floating around, you should wipe them down with a dry cloth before putting your drill press away.
4. Check the Drill Quill
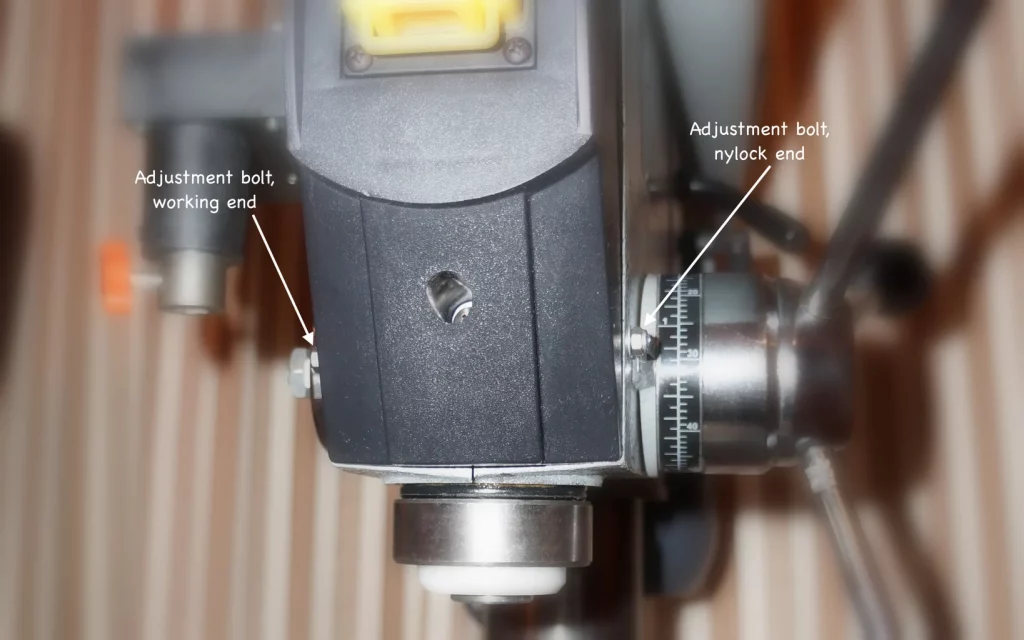
Your drill press will often use a quill to control the depth of your drill bit. If you want to make sure you can control it properly, make sure it’s clean and free of debris.
Use a cloth or towel with some WD-40 spray on it to wipe down the drill quill before putting your press away for the day.
5. Clean the Table
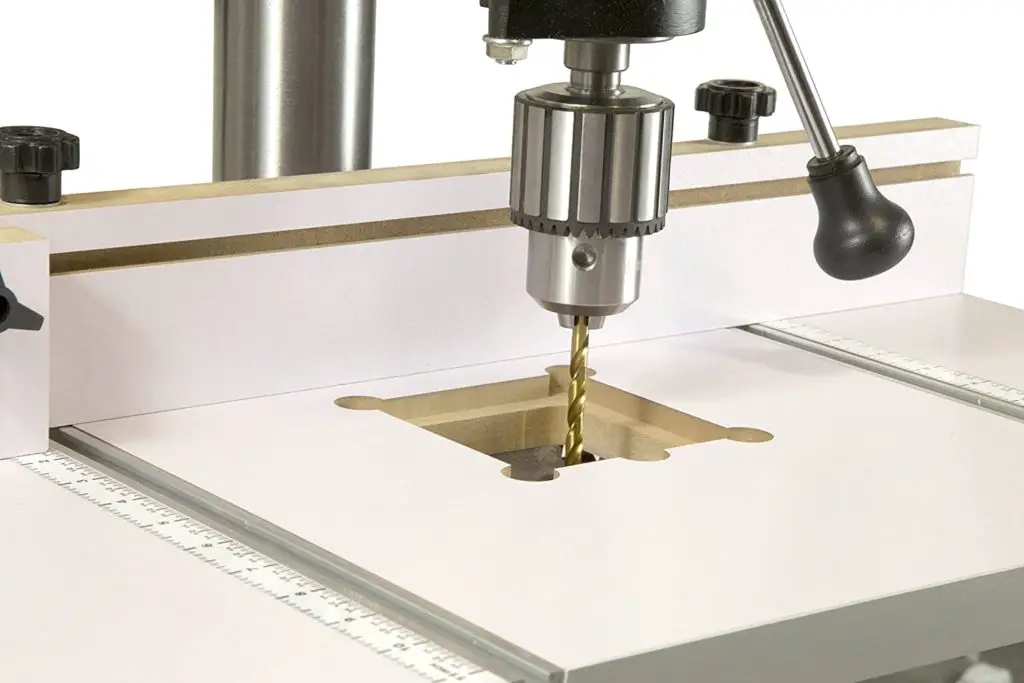
This is very important for getting an accurate cut. The table of your drill press will often accumulate a lot of dust and debris over time, and it needs to be cleaned out regularly to make sure measurements and cuts are as accurate as possible.
This can also help you make smoother, straighter cuts on thicker materials. However, you need to be mindful of not using too much water as this could cause damage to your drill press. You can use a brush or all-purpose cleaner and a damp cloth for this.
6. The Power Cord and Switches
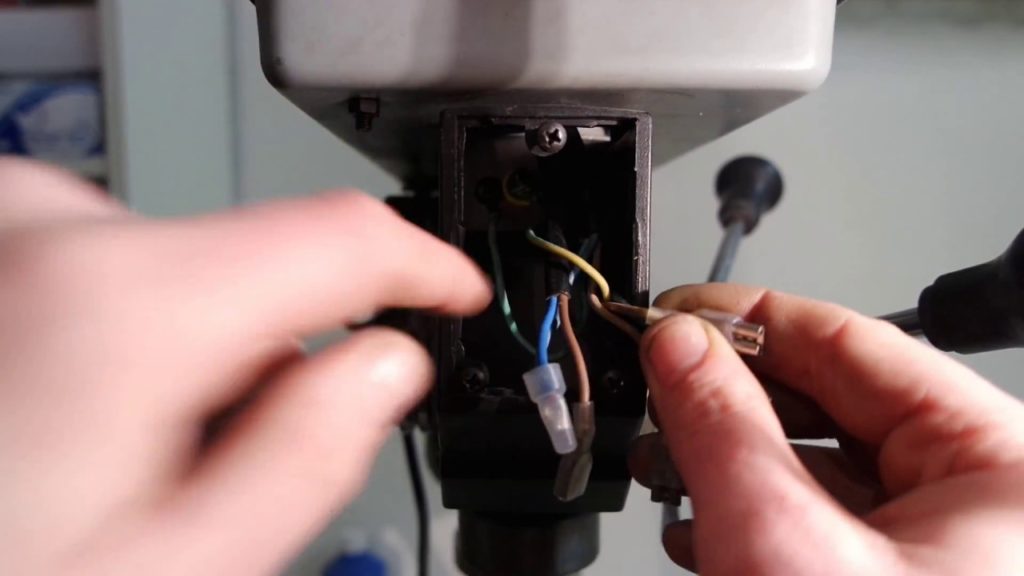
Finally, keep an eye on safety checks by making sure that the drill switches and power cord are in good working order. You may accomplish this by examining the cable on a regular basis to make sure there are no insulation cracks.
Both the plug end and motor housing should have strong, concealed connections. There should be no fraying or looseness in the connection.
To verify that the switch on the drill press’s front does not show signs of wear and tear or shift and relocate within the housing, turn off the power to your device. If you’re using a variable-speed drive, ensure it’s set to desired speed before performing any test cuts.
You may be running a machine that will sort itself out, or worse yet, give you an electric shock while it’s in use if you notice any problems with the electrics. Replace frayed wire connections, tighten loose ones, and maintain an eye on any concerns as soon as they crop up.
7. Adjust Belt Tension to Limit Vibration
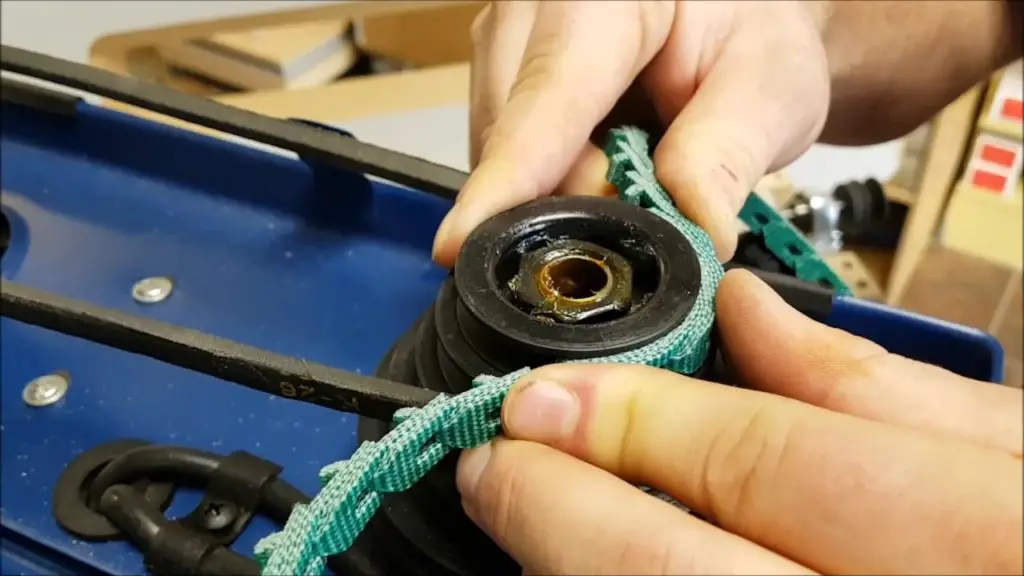
Operating a drill press with loose belt tension can create a lot of vibration, but it is possible to adjust the tension by monitoring the pressure on the drive belt.
If you want to do this, first shut down or unplug your machine and let it rest for several seconds before turning it back on. This gives the motor time to achieve the RPMs it needs to run smoothly.
Turn the pulleys by hand until you are able to stop them by applying pressure with your fingers on both sides of each one, pulling toward you while you press down. The belt should become very tight when doing this.
If it still seems loose even after tightening, check for any loose screw or mounting bolt that may cause the problem.
Now check for any vibration in the drill press by standing in front of it and pressing down on it with enough force to cause visible movement in the machine’s surface.
If it vibrates, you can lean in toward one of its sides while also applying drilling pressure with your fingers. If the movement lessens, this indicates that the belt is tight enough, if not too tight.
Vibration can also occur at the head of the machine if the pulley on its end needs to be tightened or loosened up. If this is true, then following these same directions will fix it. Making sure that the drive belt on your machine has enough tension to prevent vibration added to the need to keep it from being too loose will help you get a smoother cut.
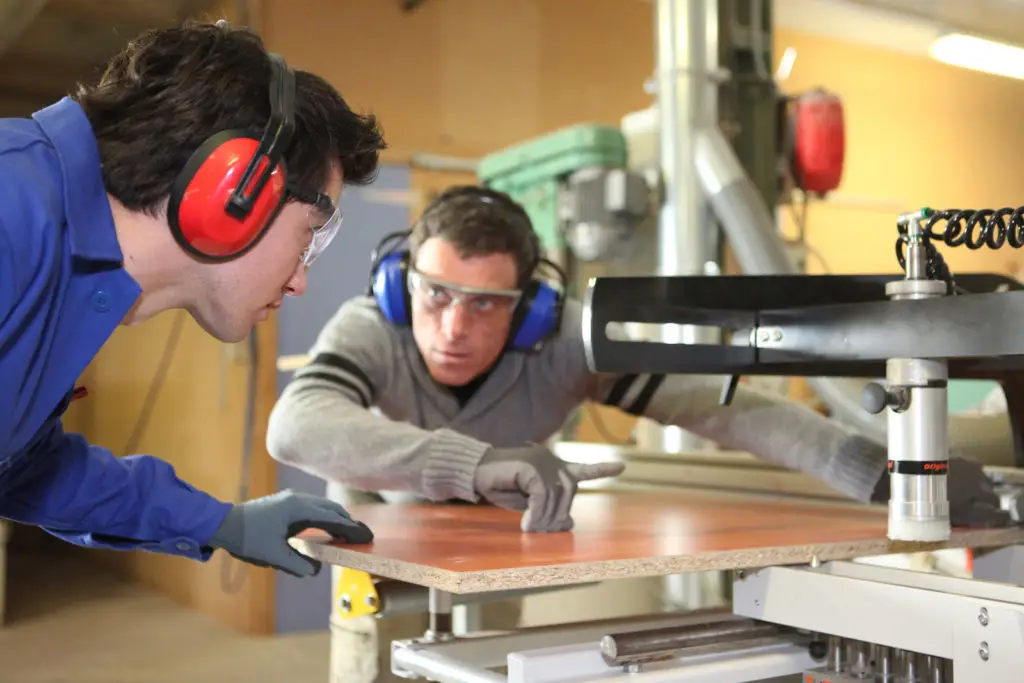
8. Set Speed for Effective Drilling
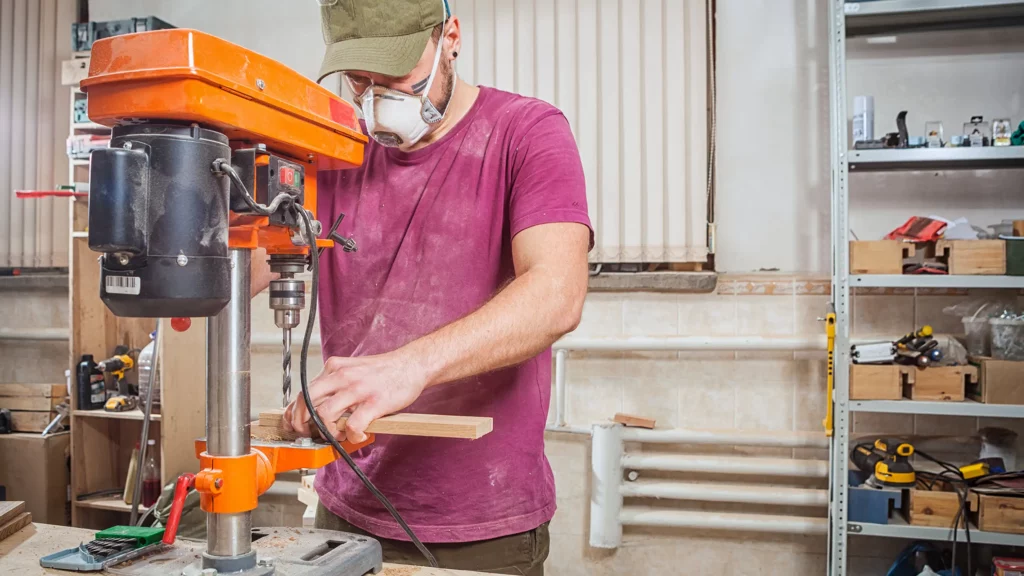
Large diameter bits and hole saws will require high speeds on your drill press, but making sure that the speed for working with smaller drill bits is set correctly will ensure they are spun at optimal speeds. This also helps to eliminate overheating, which can cause damage to your machine.
Two things go into setting RPMs at the desired level: choosing the right speed setting for the bit, which you should have already done since this is one of the first things you learned to do when operating your drill press.
The second factor that goes into it is making sure that all overload protection systems are disabled before performing any test cuts on the material. This includes using a variable-speed drive if yours has one.
Keeping a close eye on how your drill press runs will help you determine if the speed is too high or too low for an effective job. Overheating can damage your machine, which often happens when working with large diameter bits and hole saws.
9. Clear Debris Quickly With an Air Nozzle
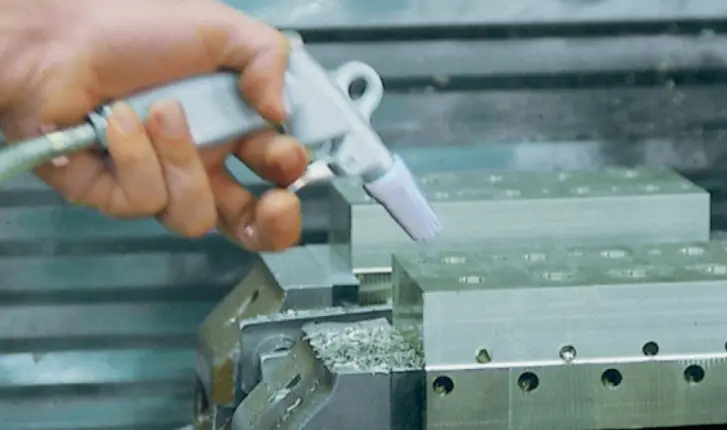
Providing your drill press with an air nozzle will make cleaning off the surface of it much more efficient. This is especially helpful once you begin cutting and drilling through materials that leave behind a lot of metal and dust residue, such as stainless steel and aluminum.
Use this nozzle to clean away any debris immediately after completing each task. If possible, you should also run compressed air through the machine to keep it free of debris and avoid having dust and metal particles accumulate in its interior.
10. Maintain the Right Drill Press Angle
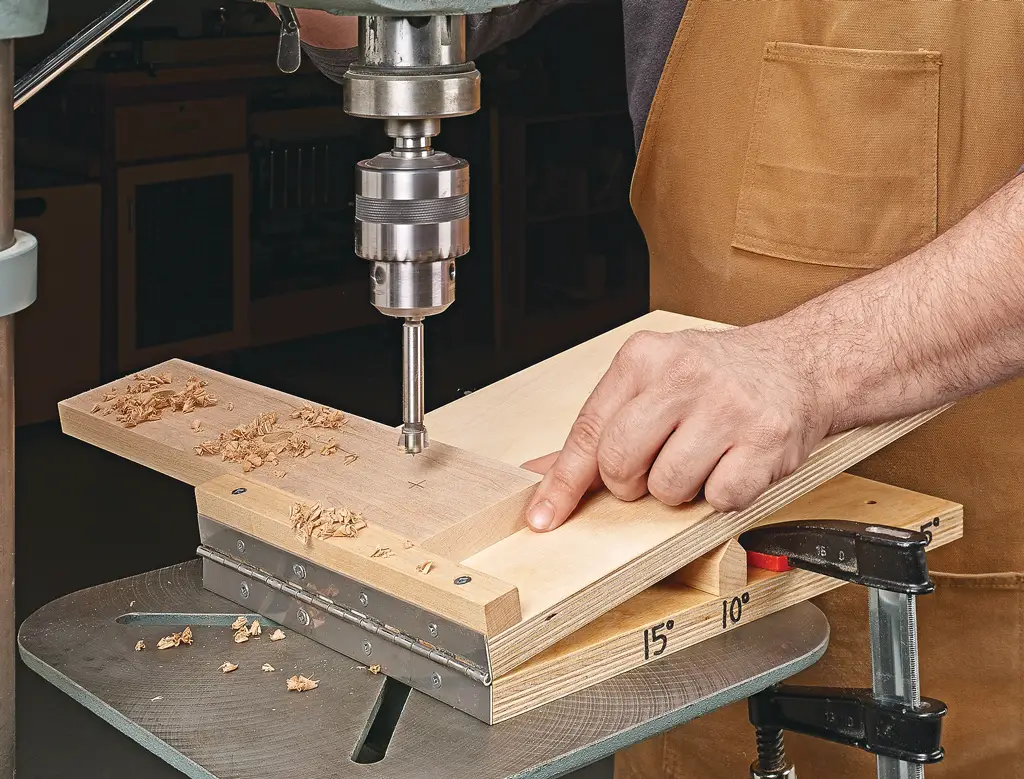
The angle of your drill press table is adjustable, and it should be set according to the job at hand. Larger angles are needed for drilling holes near the edge or exterior of a piece of work. In contrast, smaller ones should be used for working on items that require greater precision, like working on delicate objects like jewelry.
You can make sure the drill press table is set at the correct angle by following these steps:
- Level the machine’s base.
- Make sure it’s level with a bubble level. The mounting surface underneath it should be perfectly horizontal as well.
- Use a framing square to make sure that this surface is perpendicular to your drill press’ column as well as parallel with the ground.
- Make sure that the column is at 90 degrees to this surface, which can be done using a protractor. A small drill bit should not move across the surface of your table when it is set at 90 degrees, but there will be some movement if it’s slightly off.
|
NOTE Keep objects tight against the edge of the drilling metal table for rooms that require the greatest precision. However, when dealing with larger objects, it is best to place them in the middle of the table to distribute their weight better and reduce stress on its structure. |
|---|
11. Make a Dust Channel for Accurate Drilling
Making a dust channel underneath the surface of your drill press table will result in cleaner cuts. When drilling, you can expect to see debris scatter beneath the table’s surface.
This makes it difficult to determine how straight your drill bit is traveling through metal, which can be frustrating if accuracy is what you are going for. You can stop this from happening by using a piece of sheet metal, which you should also attach to the underside of your drill press table.
It’s Easy to Do
All these tips will help you maintain your drill press in top condition and keep it working as long as possible. No matter what you do, if you follow these steps, your drill press should last for a couple of years before needing replacement parts.
Just remember, it’s not always easy to maintain a drill press, but if you want it to last as long as possible, certain things need to be done daily.
