How to Use Table Saw for Different Types of Wood Cutting Techniques: A table saw is a kind of woodworking tool that is easy to use and can carry a lot of stuff within a few seconds. You can use this tool for long vertical cuts or short angle crosscuts. Some simple tips and techniques for handling the saw will increase your productivity and versatility with precision. In this article, we are going to introduce some tips and techniques on how you can use the table saw to get more benefits.
To make precise and accurate cuts, what you need is to follow the right techniques for the right jobs. For that, you have to learn some kind of cuts that a table saw can produce. Here are some cutting styles you will love, which the most professional woodworkers follow at their DIY workshop.
Start with safety
You will notice that I will overemphasize the safety procedures in this guide. You need to observe all the safety precautions. As a way of making this easier to comprehend, let us look at safety in relation to all the cuts that you make.
Technique and Safety when Making All Cuts
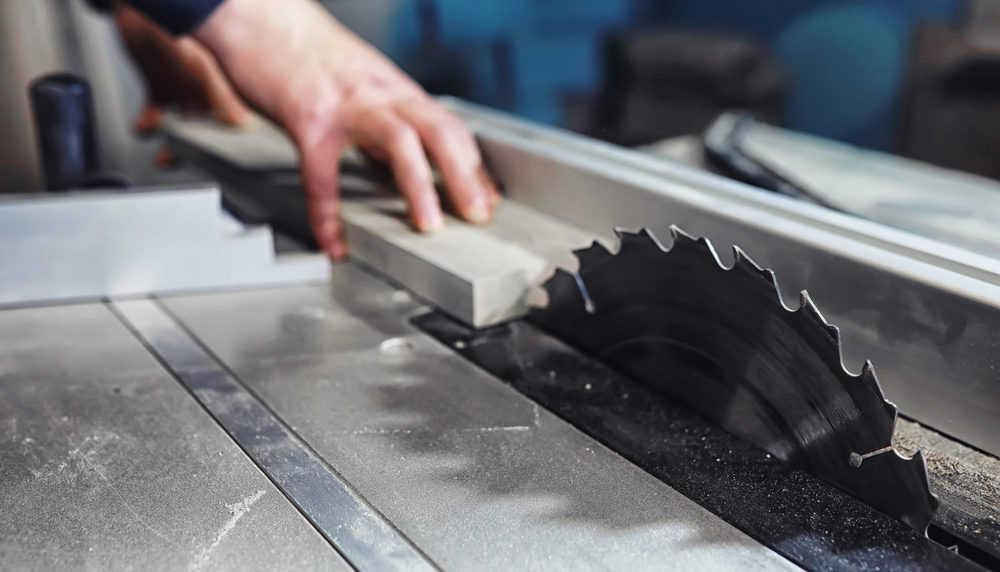
There are certain fundamental things that will apply though, as far as safety goes, when working with the table saw. By now, you should have come to terms with the safety clothing that you need to wear when operating it.
In addition, you need to be in a position where you know all the essential accessories like rip fences and miter gauges, zero clearance inserts, blade guards and push sticks among others. I will also assume by now you already know that you should never make any adjustments without turning it off, and unplug it from the power source.
With all this in place, I can now go straight into the proper technique using the best saw. Here are some common pointers that you should never ignore:
- At any point, if you feel like a cut is unsafe for you, then there is a very high possibility that it is unsafe. You should find a different way of executing the cut and if you need help you should ask right away.
- Never attempt to make cuts on several workpieces at ago; it should be one cut at a time. In addition, irrespective of your level of expertise, you should avoid freehand cutting. Always use the right jigs like feather boards, miter gauge, rip fence, push sticks, etc.
- Before engaging the piece of stock to the blade, you will want to make sure that the blade is spinning at the right speed. When making cuts, the blade should be spinning against you and remember to stay clear in the direction of the blade. This is where the push devices come in handy.
- When setting the blade height, it should be such that the bottom of the gullets is flush to the surface of the table saw.
With these few pointers, you should be able to operate the best value saw without any hitches. The most fundamental thing to remember is that proper technique is paramount for your safety. With this issue addressed, we can now dive into various cuts that you can make as a beginner.
Rip Cuts
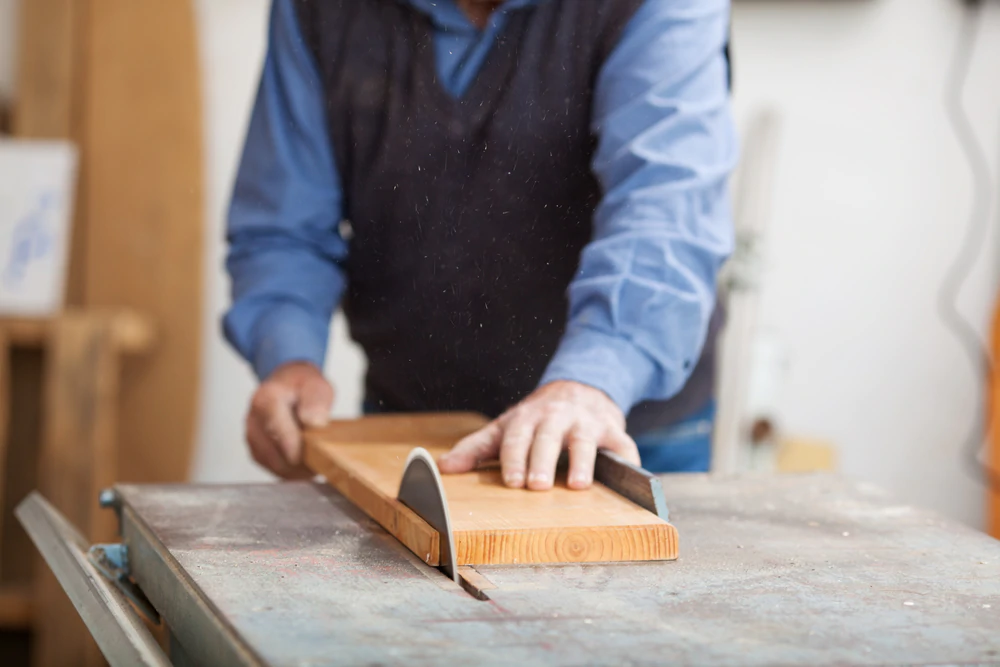
When it comes to the name of the table saw, you’ll find that the most common cut is rip cut. The rip cut is a kind of cut that cuts the wood parallel to the grain. Unlike cross-cuts, it uses the saw parallel to the grain. So, it divides the wood at a straight line.
Before you start a rip cut, make sure you did some practice with some piece of wood so that you feel the sudden pressure for the original cuts.
To make a rip cut, what you need is to adjust the blade carefully on the table measuring the thickness of the wood so that no kickback arises.
Then you need to adjust the width of the fence also. You can tighten or loosen the side rail so you can move the wood left or right for accurate adjustment, and hold tight when sawing. You can use pushing tools to push the wood for extra-protection and precise cuts.
Table saw is one of the loudest tools in the workshop; so it’s vital to ensure your eye protection and hearing protection at first.
Bevel Ripping
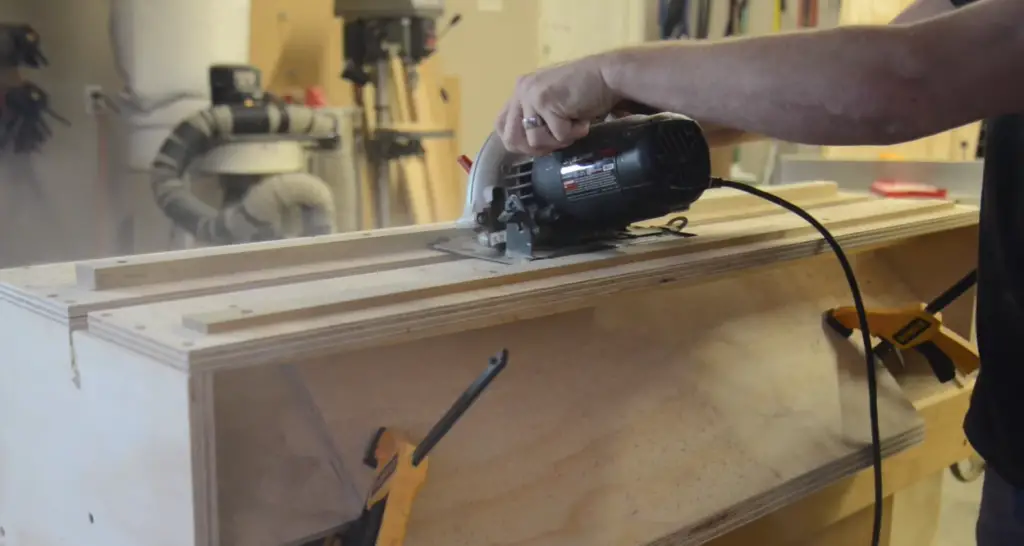
Before you make a bevel ripping, it’s noteworthy to learn about tilting system of your table saw. You will observe that some of the table saws tilt left while some other right. When you’ll go for bevel ripping, make sure the tilting right or left of your saw so you can fix it for accurate cuts.
A table saw enables bevels and chamfering from 15° angle to the 90° angle. Accurate position and strong tilting will ease your way to make accurate bevels. If the table saw tilts left at 40° angle, you’ll definitely place your saw in the right side to cut the bevel.
At the beginning what you’ll need is to fix the tilt in the angle of your saw. Then place your wood piece on the tabletop beside the saw blade and take accurate measurement and fix it. Don’t be hurry! Place pushing tools on the wood to push over the saw blade keeping it touching the work fence. Slowly push the wood over the saw blade and this will be a nice piece of bevel cut.
If you find your chisel edge useless for certain jobs, the bevel angle is nice to fit for you then. You can use finer angles for soft operations, but for hardwoods, you can use steeper angle no doubt.
Crosscut
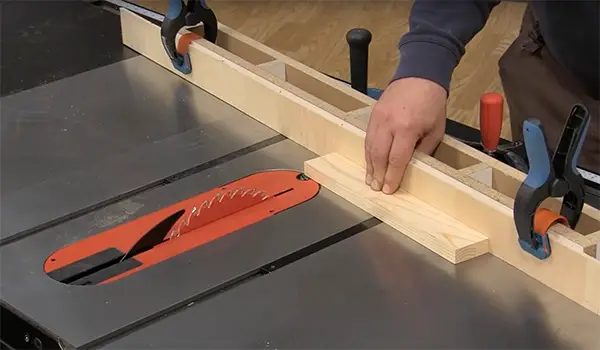
Some custom jigs will enhance the potential of your table saw. When you use your table saw for rip cut, it simply divides the wood piece into two parts. But for crosscuts, it’s a quite complex process because you cannot keep the wood piece rigid in one place while cutting. This is because the crosscut sled is vital for cutting crosscuts. The crosscut sled will provide you a platform that more stable and you can make a straight and square-cut on it.
First of all, you need to adjust the saw blade a bit above the thickness of the wood piece. But make sure it’s not too high or too low so that it can accomplish the full length of cutting the wood.
To ensure the accuracy of the crosscut, you need to install the miter gauge into the slot. You can set the separated one into the slot if you miss the built-in meter gauge. You can collect this from any hardware store.
The perfect measurement is a vital part of the crosscut. To make a perfect crosscut, you must install the meter gauge in a squared position on the saw blade. For that, you have to place it at a 45° angle and create a triangle. Ensure the triangle ends up to the 90° angle. Then fix it strong so that it can’t move right or left.
The most important thing is that the miter gauge fence must be attached and need to hold the board against the fence so that the wood piece can move and create the accurate cut in a straight line. Make sure the hand you use to hold the fence is far away for the saw blade. Otherwise, it may be the reason for causing an accident in the workshop.
If you are making angled cuts, you should slow down the feed rate. This is a safety measure to ensure that the stock does not slip or bend. You should have different miter gauges for various angles. If the workpiece is too thick, you should make two passes so as to maintain consistency and accuracy.
Finally when the crosscut finishes, pull back the board so that the saw blade becomes loose to easy access. Then turn off the saw to finish your crosscuts.
Dado Cut
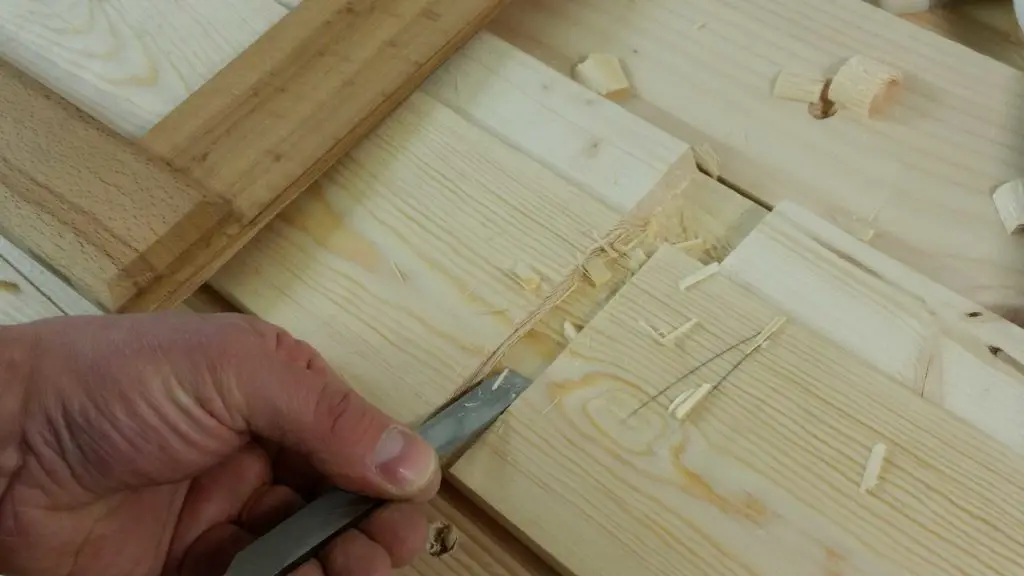
When you need a precise fitting with two or more pieces of wood together, the dado cut is the perfect cut for this. You can use the dado cuts for making furniture, cabinets, or any other woodworking projects.
A kind of especial saw blade is the best fit for Dado cuts. So, it will be wise to choose a table saw finding this especial blade included.
Final Verdict
These are the most common and vital cutting techniques. If you practice them on a regular basis, you’ll be a skilled DIYer and be able to handle the table saw for cutting woods the way you like.

